Deploying Service Fabric App with VSTS
Visual Studio Team Services (VSTS) makes it incredibly easy to deploy Azure Service Fabric applications to your Service Fabric clusters as part of a continuous integration process. There’s just a few easy steps to get it set up and running.
Setup Your Service Endpoint

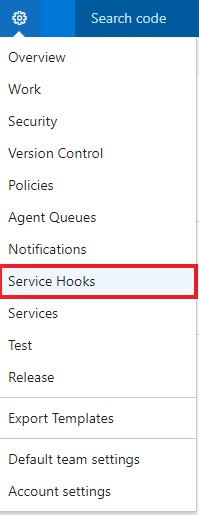
VSTS-Service Fabric-Service Endpoint
VSTS Endpoint Connection
Start with setting up your service endpoint. This will connect your VSTS instance to your Azure Service Fabric. In order to make the connection, you’ll need to use the same security you use to connect to your cluster endpoint. This is usually either certificate based or using Azure Active Directory credentials.
If you choose certificate based, you’ll need to use the same server certificate thumbprint and password you use with your cluster endpoint.
The cluster endpoint address you’ll want is typically the one that ends with port 19000 if you used the standard setup process for your Service Fabric cluster.
There are other methods for connecting, but I’m not familiar with any of the other available methods for connecting.
Set Up Your Build Definition

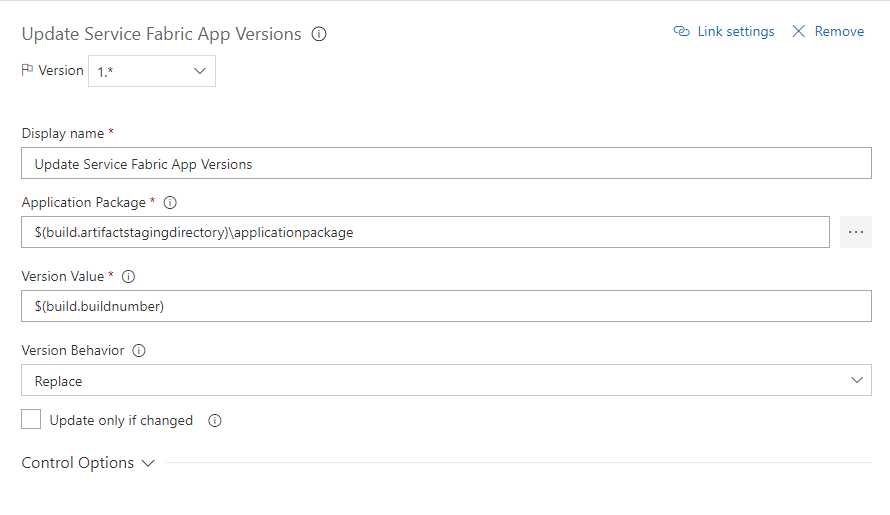
ServiceFabric-VSTS-Build Step Version Number-Details
Once you’ve set up the connection between VSTS and your cluster, go ahead and set up your build definition in VSTS. This will start like any other build definition. You’ll run your NuGet restore, then your solution build.
After this you’ll need to update your Service Fabric application version numbers. This was the thing that threw me off for hours. I was publishing and publishing and my updated code was not being applied in my cluster. I finally realized that if you don’t update the version number, it won’t actually deploy your new code. Thankfully, VSTS offers a build step called Update Service Fabric App Versions that makes this easy to update.
You can use whatever process you want to set a build number definition, but I generally just use the build number variable and set its definition to $(Year:yy).$(DayOfYear)$(Rev:.r). Once I got past that hangup, the rest of the setup process was fairly easy.
The last two steps I use make a copy of the project XML files to an artifacts folder and then publish the code build result to a VSTS staging directory. After that is completed, I let the Release process take over from there.
Set Up Your Release Definition
While you can carry out your publish to your Service Fabric cluster via the build process, VSTS has a couple of features available under the Releases process that make it very simple and easy to deploy your project. You really only even need one step in your definition.
Create a new Release definition and the Deploy Service Fabric Application step. There’s a few settings to define and know about here.
- Your Application Package is the directory where the code was dropped in your Build process
- In Cluster Connection, select the Service Endpoint you created at the beginning
- For Publish Profile, select the artifact folder where you dropped your Cloud.xml file in the Build process
- Advanced Settings:I generally select Compress PackageCopyPackageTimeoutSec - This is one you’ll need to experiment with. I’ve found that from time to time, the copy process between VSTS and your Azure Service Fabric clusters can be excruciatingly slow, even for small projects. So if you find it frequently fails on the copy step in the log, try bumping this up. I generally leave mine set at 300.Overwrite Behavior - I generally select SameAppTypeAndVersion, but as I said above, this didn’t seem to work right for me as the existing app was never being overwritten if the version numbers were the same. You can also choose Always, but again, this seemed to not work for me for whatever reason.
- Upgrade Settings:I usually check Unregister Unused Versions. Most of the time this seemed to work, but from time to time, it seems to leave an old version that’s no longer used that I have to go back in and unregister myself.
- I generally leave everything else as is.
And that’s it! VSTS makes Azure Service Fabric application deployments easy to setup and run. And once it’s set up, all you need to do is check in your code and let it run.

